
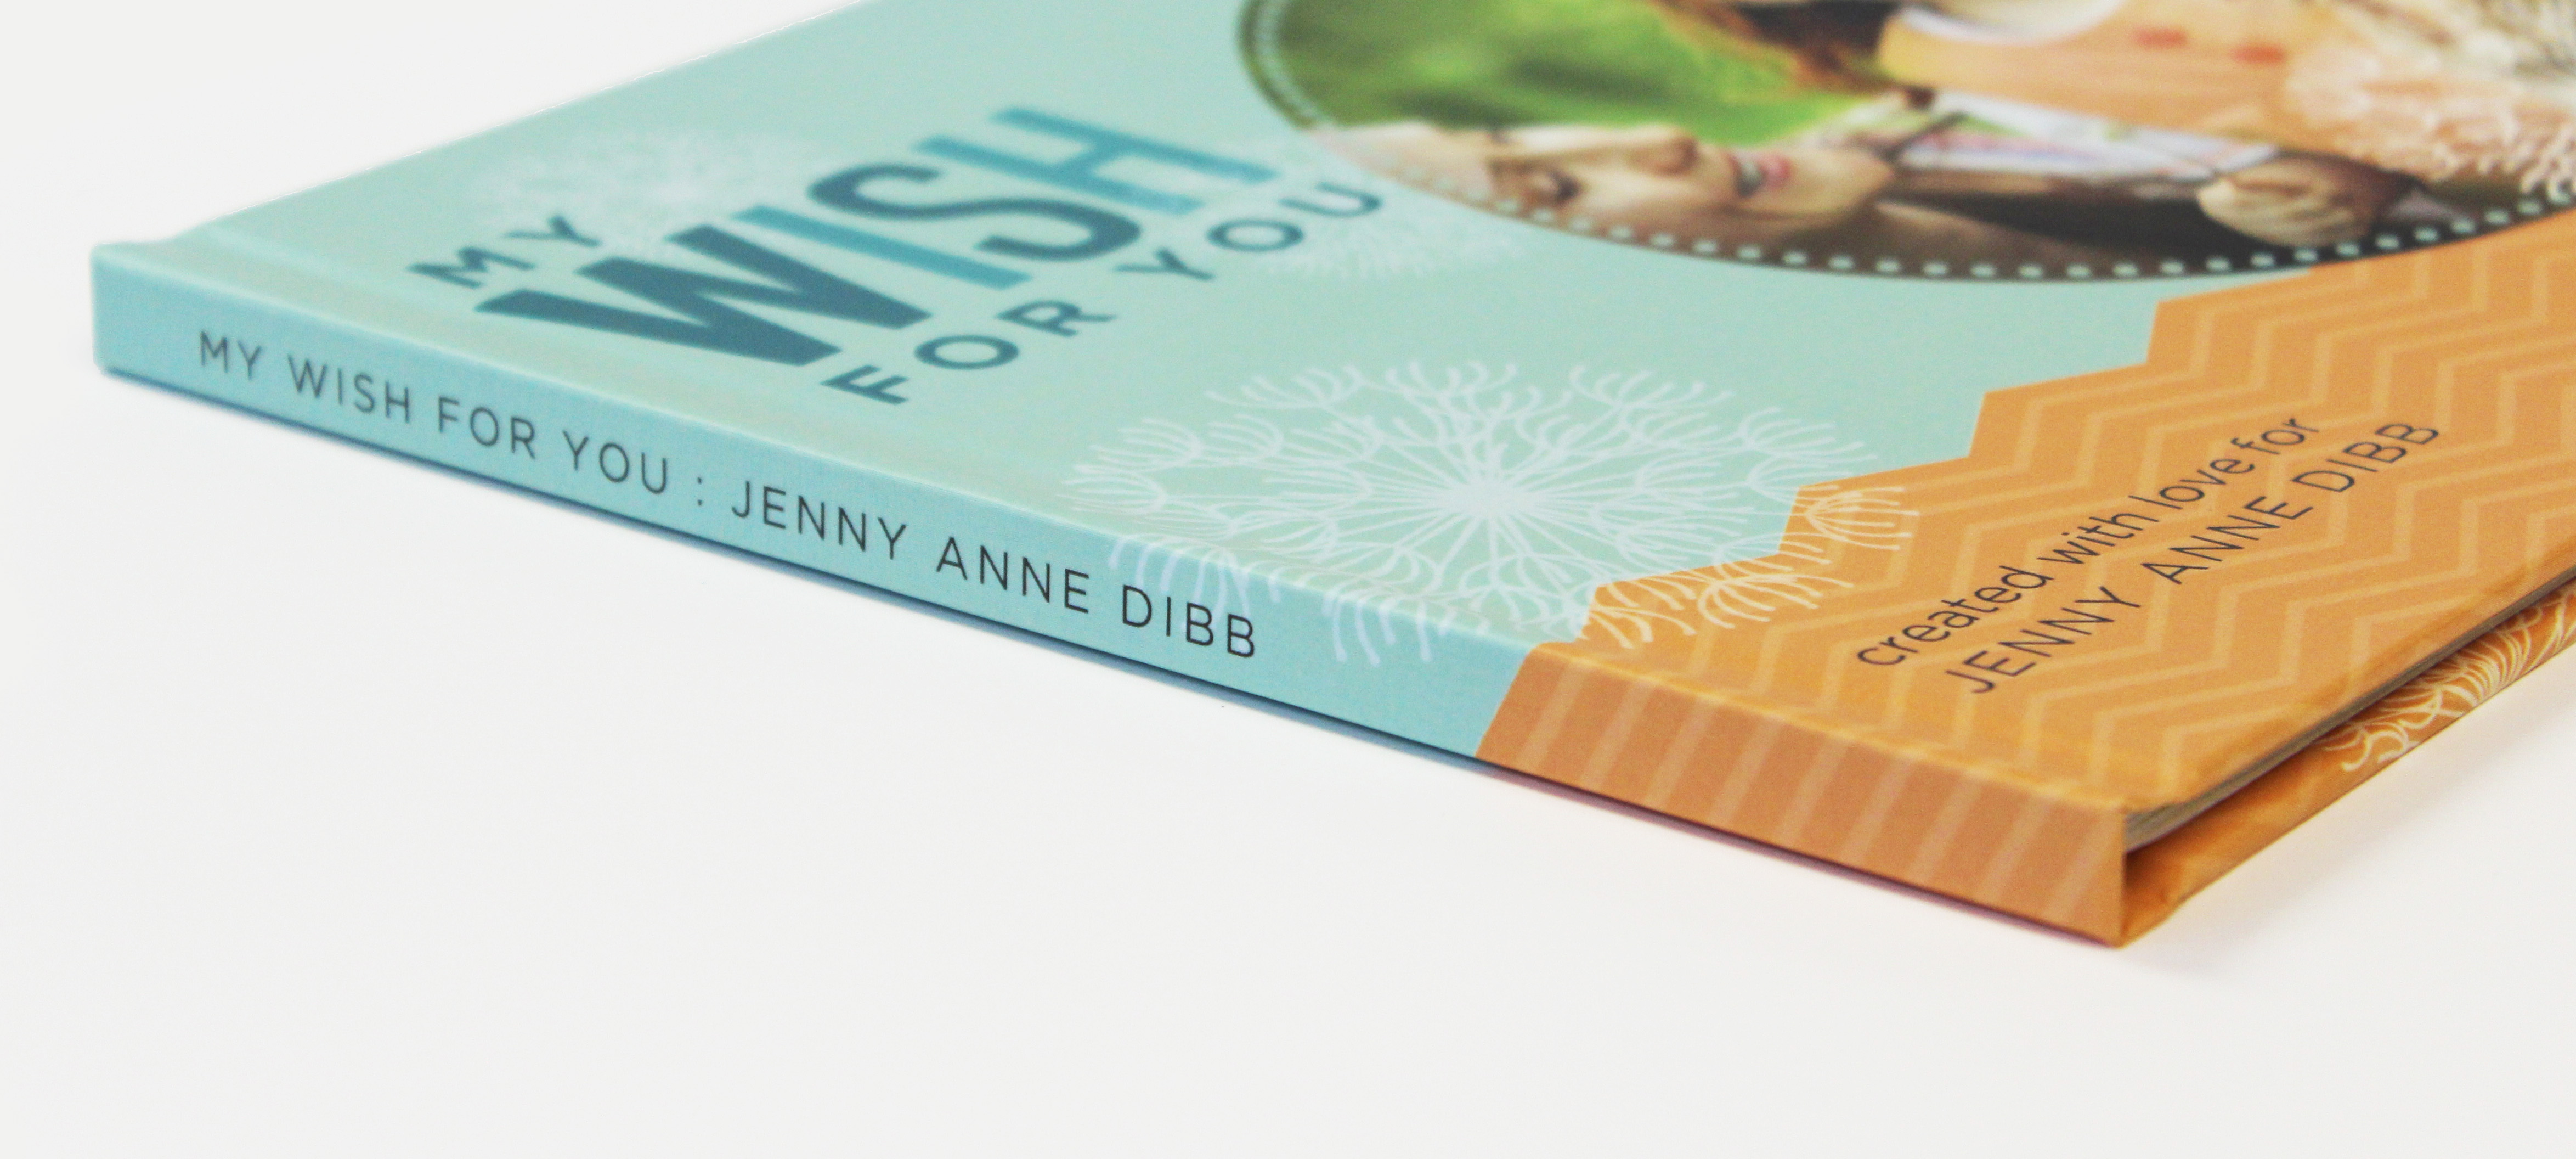
When creating a custom Heritage Makers Storybook, either from a template or from scratch, you have the option to add your own text to the spine area of the Storybook. Here is a simple step-by-step process to add text to the spine area of your Storybook.
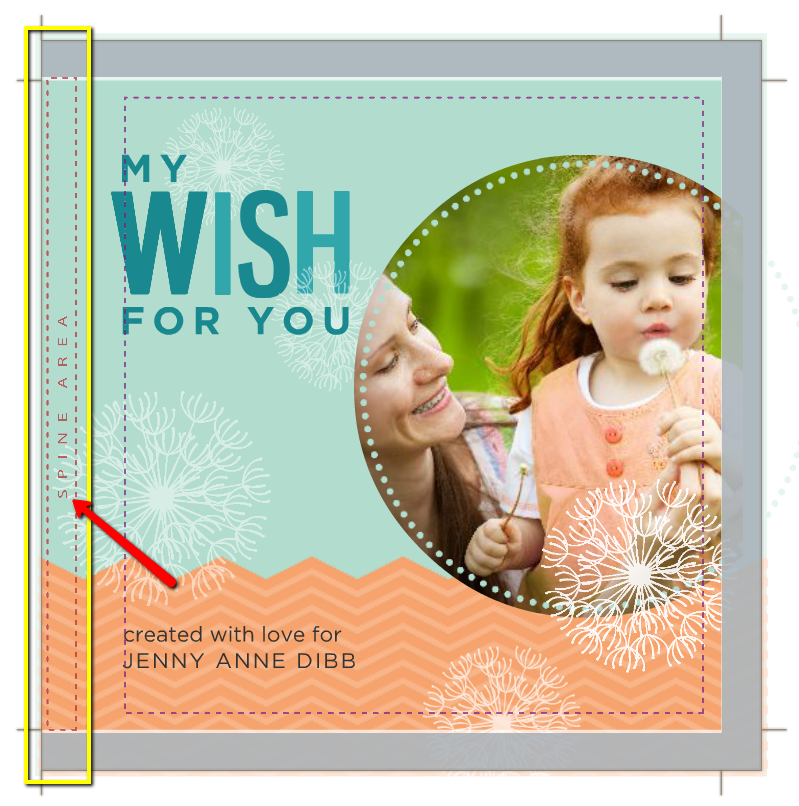
You may notice that there is a red outline and text indicating the location of the Spine Area on the Front Cover (FC) page of your Storybook. This is part of the Design Guide for any of our hardbound storybook products, so you will always see this on the Front Cover page while designing in Studio. Some templates already have text in this area, which you can edit or remove. If there is not already text there, or if you are designing from scratch, the following steps will help you add text to your storybook's spine.
Note: The red "Spine Area" text will not print on your storybook's cover. It is part of the Design Guide, that is visible only while designing in Studio.

In order to add a new text box to your project, you will need to open the "Text Boxes" tab of the Content Explorer at the bottom of your Studio window. Inside that tab, you will see these three blue boxes: Title, Body, and Caption. To add a text box to the page you are working on, simply click one of these boxes and drag it onto the design space. When you release it, a text box will appear on the page, with some standard formatting.
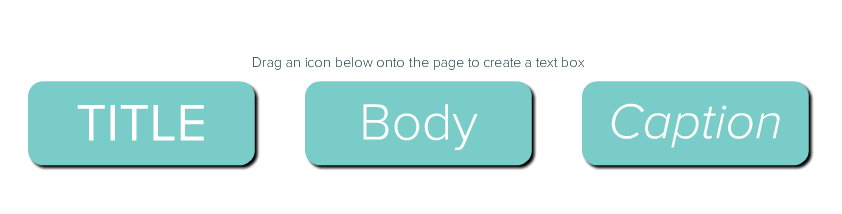
Note: Each of the three options have minor formatting differences, but you may use each of them for any type of text. Simply format the text to your liking, using the options in the Tool Box or Tool Bar.
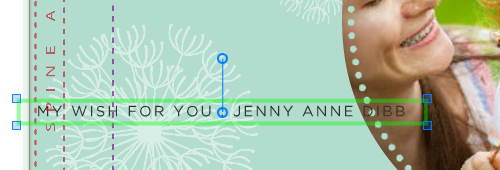
Once you have added and formatted your text in the text box, you are ready to place it in the Spine Area. When you select the text box, you should see a blue line extending from the center of your text box, with a small, blue circle on each end. As you hover your cursor over the outer circle, your cursor will become a curved, two-way arrow.
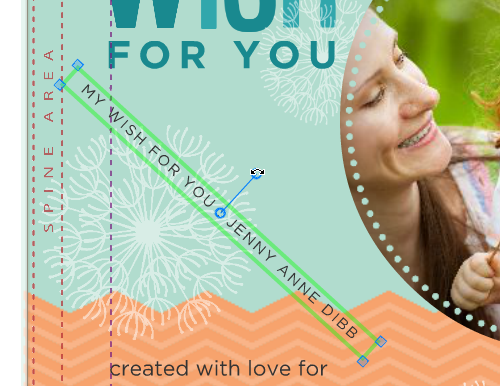
Clicking on the outer circle and dragging to the left or right will allow you to rotate the text box. In this case, we want to rotate the text box 90 degrees to the right in order to properly fit on the spine of the storybook.

You can also rotate a text box or item using the rotation tool in the Layout tab of the Tool Box. Simply slide the triangle on the slider bar or type any number into the box. If you select your text box and then type in 90 and hit Enter on your keyboard, the box will rotate to a perfect 90 degrees.
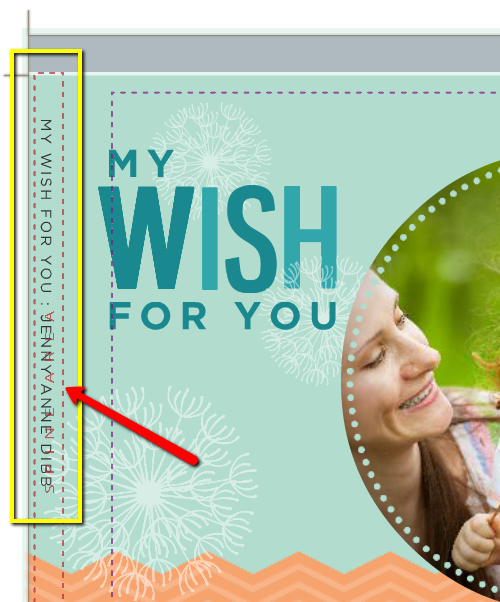
Finally, move the text box to the indicated Spine Area and edit as needed. It is best to position your text between the red dashed lines to ensure that your text is properly placed on the printed storybook and does not get cut off or wrap around the edge of the binding.
0 Comments