
Whether designing from a template or completely from scratch, there are a few things you need to know about when creating a custom 12 x 12 Storybook. The tips in this article will help you understand the Design Guide in Studio and what to expect in your published project.
The Design Guide:
When you first open Studio to work on your project, the Design Guide is visible on any page and can be a bit overwhelming. It is important to read and understand the tips and guide areas for each product type. If you have read and understand the tips laid out in the Design Guide, you can hide the tip bubbles by clicking the Design Guide button in the upper right-hand corner of the Studio window.
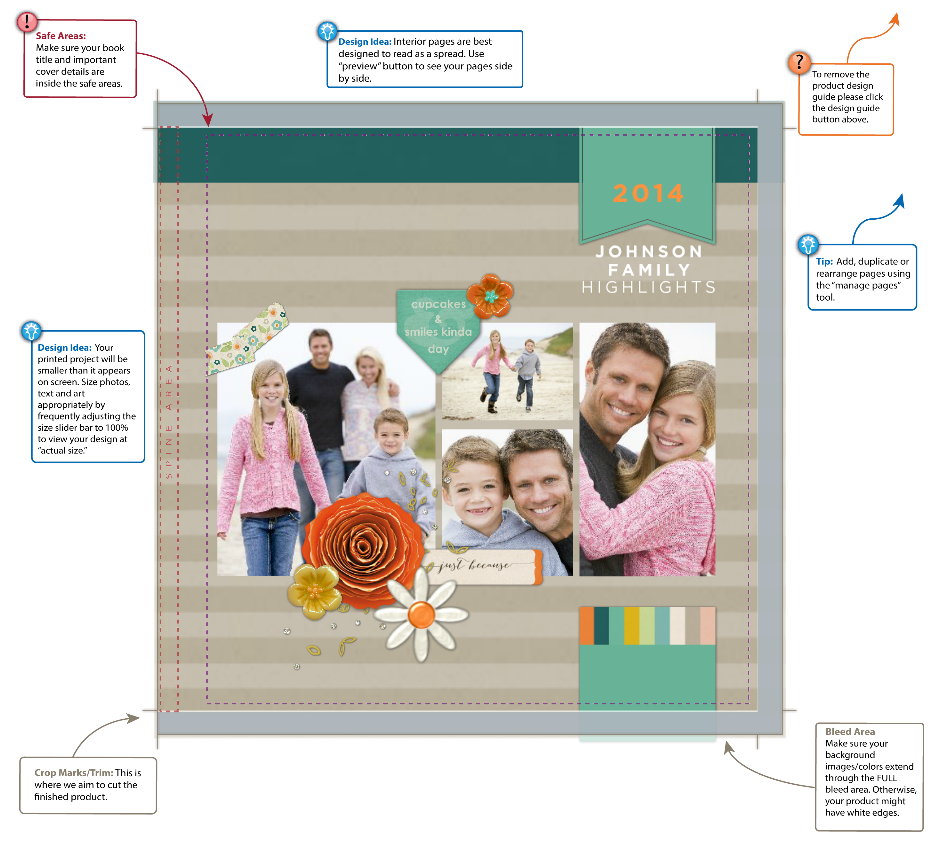
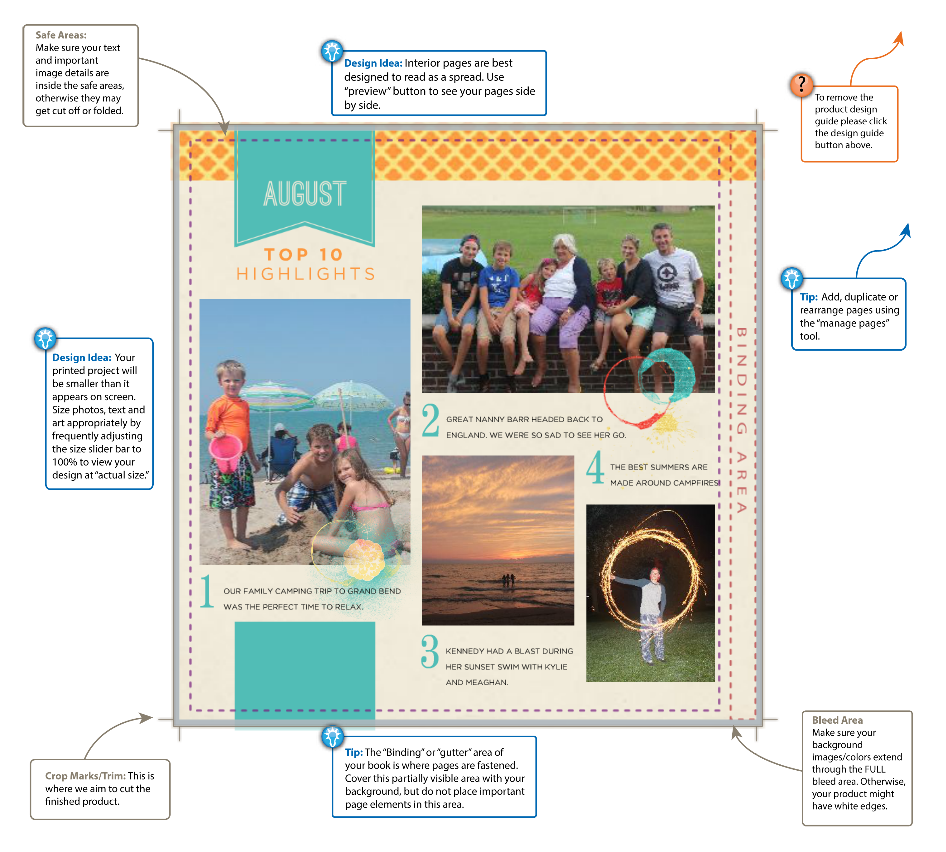
On the left is a view of the Design Guide on the Front Cover of a storybook and on the right is a view of the Design Guide on an interior, left-hand page. You will notice some differences in what is shown on each type of page.
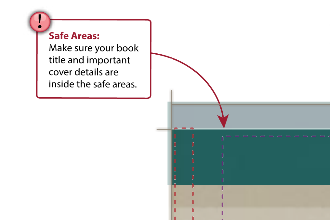

The Safe Area is designated by a purple dashed line around the edge of the design space in Studio. It falls about 1/8 inch to the inside of the edges of a project. Projects look better when words, photos and borders aren't sitting right on the edge of the paper. To avoid this, keep text, photos, and borders well to the INSIDE of the safe area. On the left is the Safe Area as shown on the Front Cover, on the right is the Safe Area as shown on an interior page.
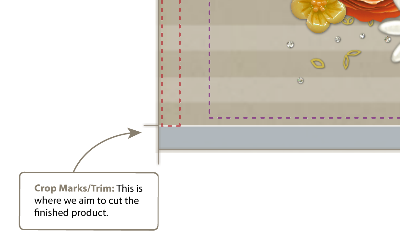

The Crop Marks indicate where the page will be cut. However, cutting is not 100% precise. That's why we have the Safe Area and the Bleed Area. These provide us with some necessary allowances in the cutting process. On the left is the Crop Area as shown on the Front Cover, on the right is the Crop Area as shown on an interior page.

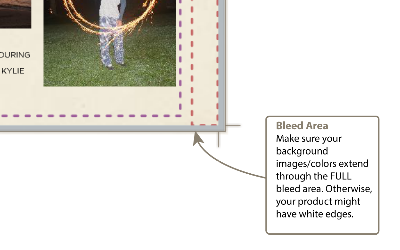
Projects are printed on paper larger than the final cut area. That's why we have marks for the Bleed Area. The Bleed Area on your project is represented by the gray border surrounding the page. Your background paper, background art or anything that you want to come completely to the edge of your cut project needs to extend all the way through the bleed area. Otherwise, you might end up with white edges. On the left is the Bleed Area as shown on the Front Cover, on the right is the Bleed Area as shown on an interior page.
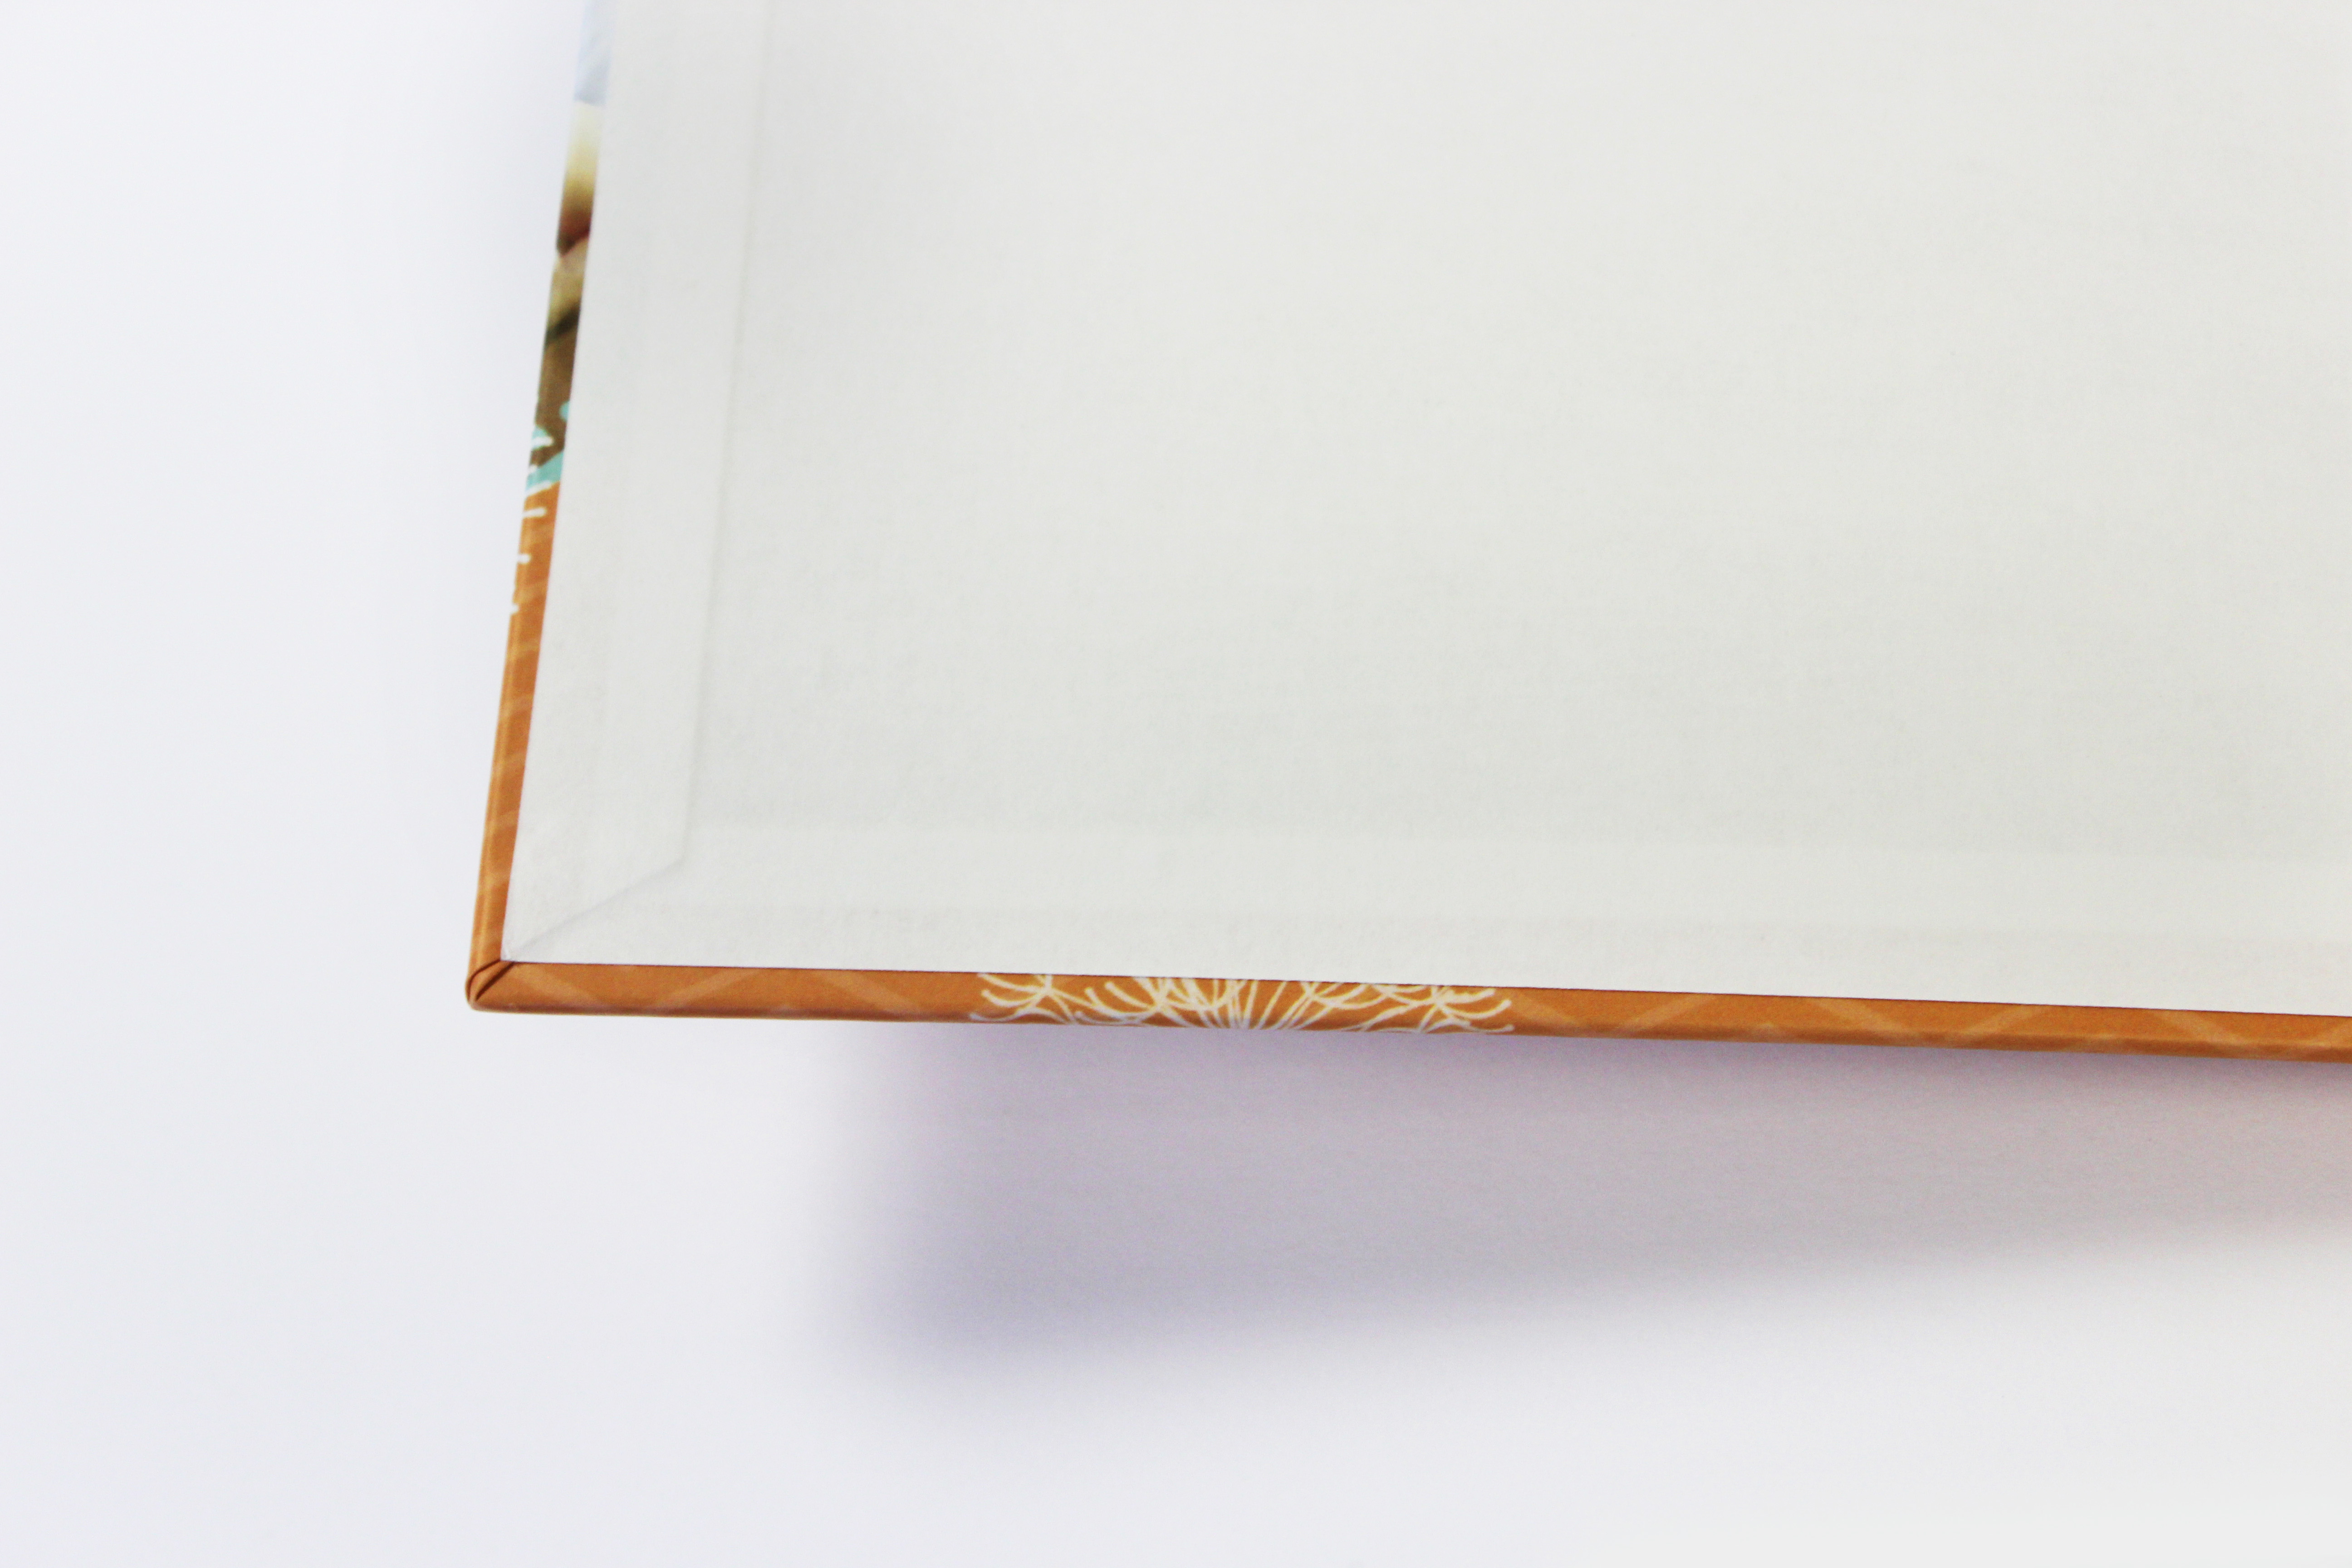
Notice that the Bleed Area shown on the Front Cover is much larger than the Bleed Area shown on an interior page. On the inside of a storybook cover, you can see that the edge of the cover design wraps around the edge of the cover and is finished on the inside as shown above. This is the Bleed Area, as designated by the grey area in Studio. If you do not design fully through the Bleed Area, this portion of your storybook (where you can see the orange pattern and embellishments in the above picture*) may be white.
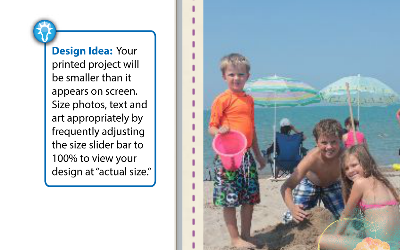
This tip bubble lets you know that, depending on the size of your monitor, you are likely not viewing your storybook at its full size while designing in Studio. To make sure that your design elements are not too large or too small, it is good to adjust the zoom tool at the top center of the page to 100% every so often. Just grab the triangle on the slider bar and slide it to zoom in or out until you reach 100%.
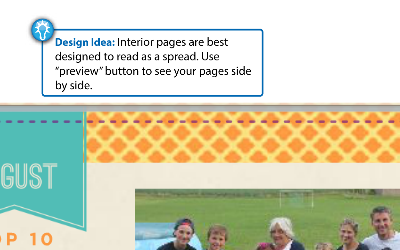
This tip bubble is to point out that you may view your storybook pages as a two page spread by clicking the "Preview" button in the top, left-hand area of your Studio window.

To add, duplicate, remove, or rearrange pages in your storybook, you will click the "Manage Pages" button in the upper, right-hand corner of your Studio window. This will open the Manage Pages tool. For more information, click here or go to https://heritagemakers.zendesk.com/entries/48720110-The-Manage-Pages-Tool.
The Spine and Binding Area:
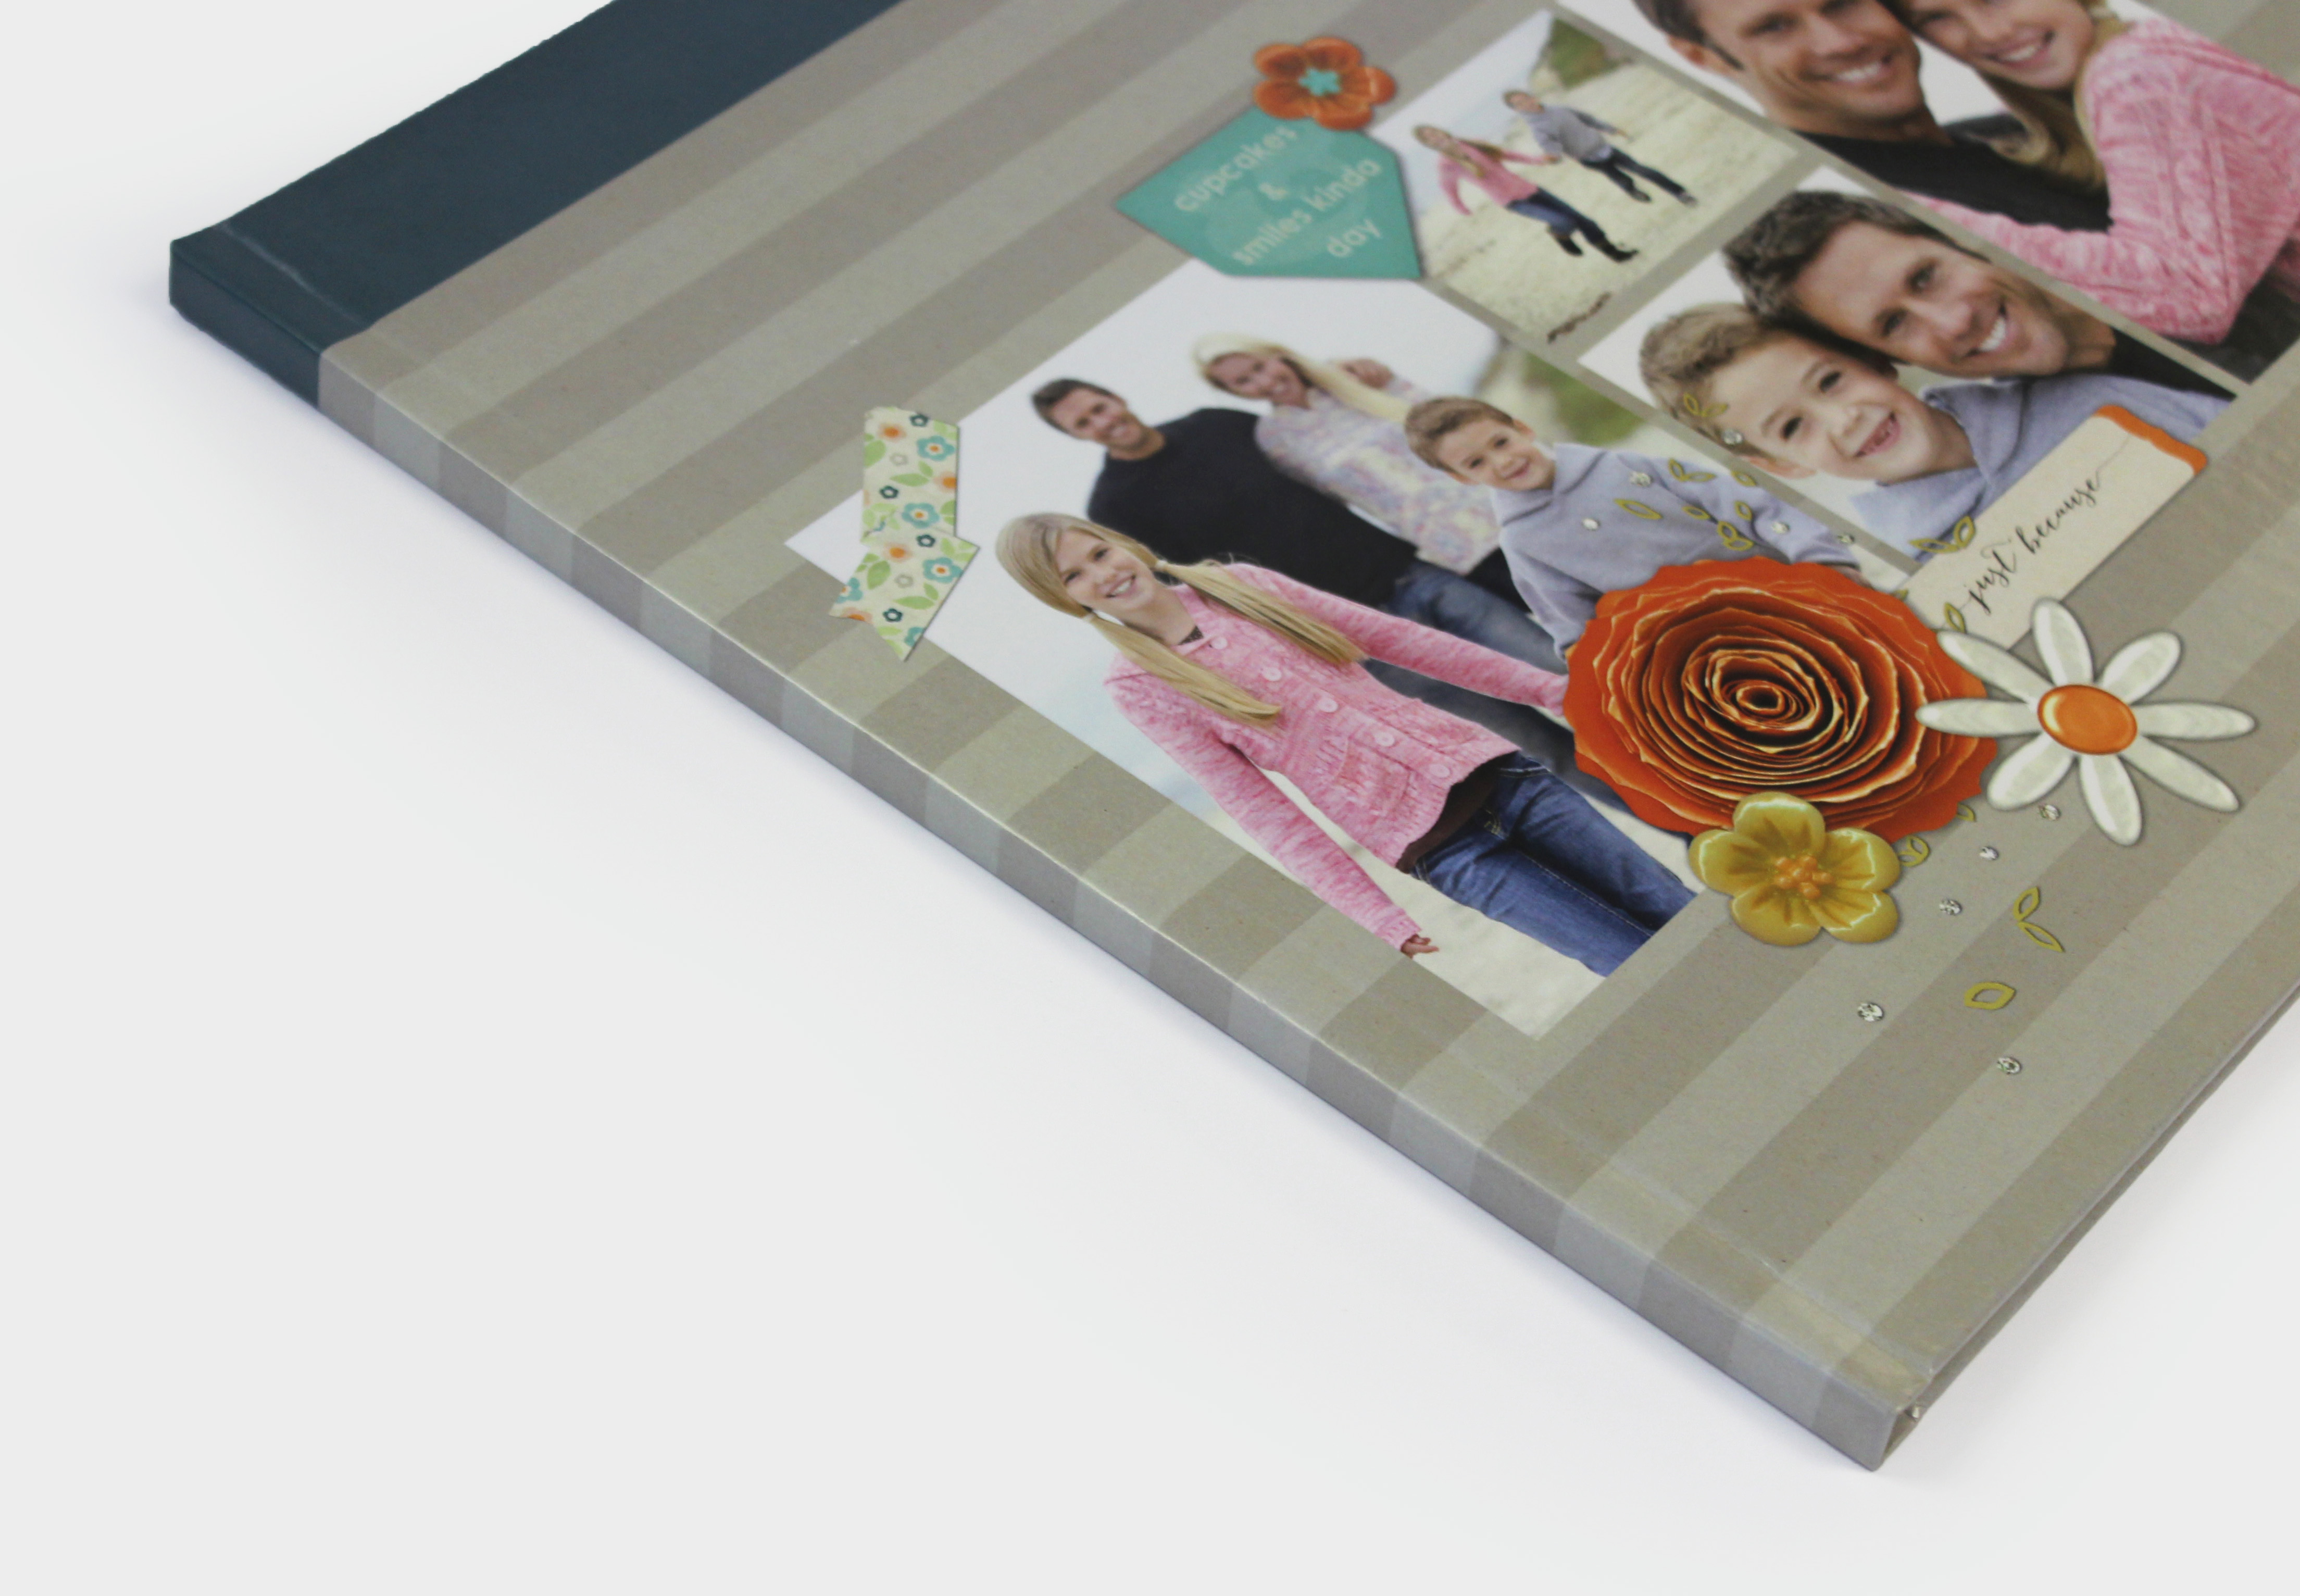
While designing a Storybook, you will notice a large area sectioned off on the side of every page. This area is the external Binding Area of the book. If you have never seen one of our Storybooks in real life, this is what the binding looks like on the outside of the book:
Note that you can also see how spine text will be positioned on your book. For more information about adding text to the spine of your Storybook, click here or go to https://heritagemakers.zendesk.com/entries/22803296-Adding-Text-to-a-Storybook-Spine.
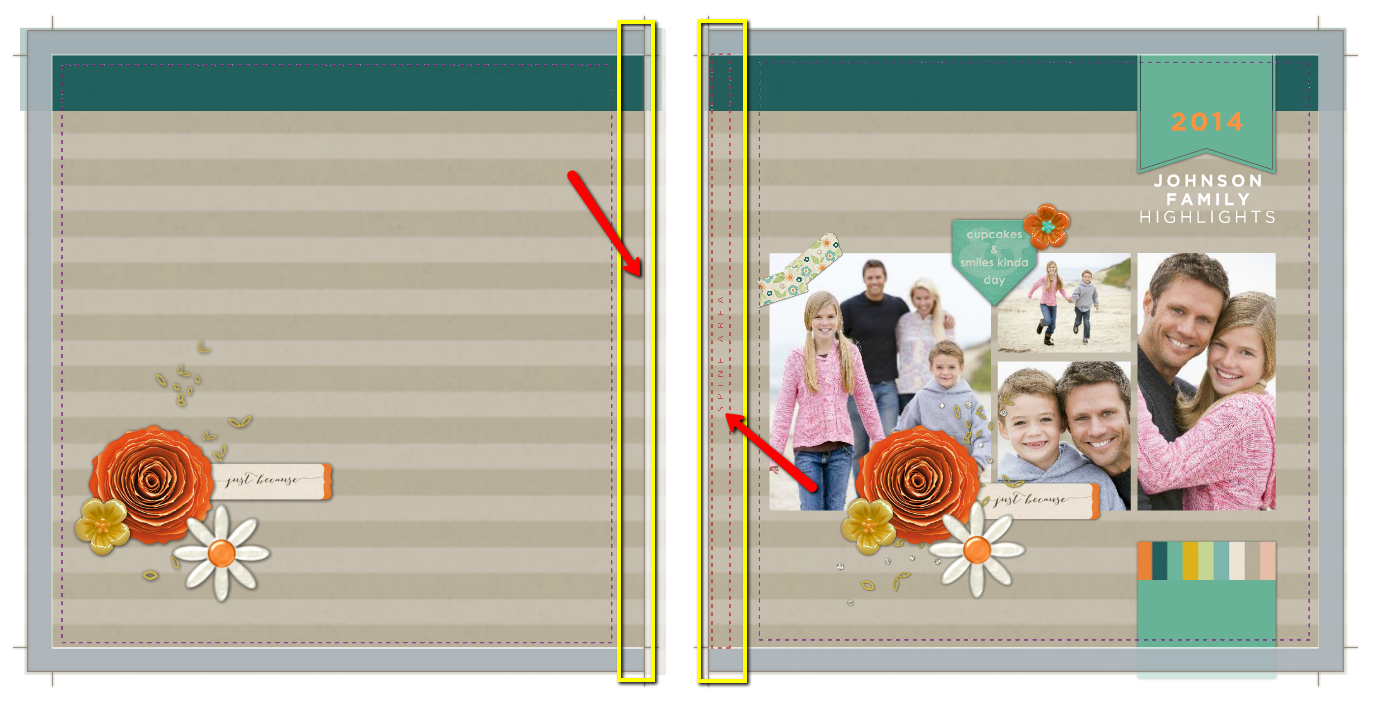
This is what the Spine Area looks like on the Front Cover (right) and Back Cover (left) while designing in Studio. Anything that is added to the "Spine Area" (marked by a red dashed outline in Studio) will appear in the Spine Area on the outside of the finished book. The red "Spine Area" text does not print on your book.
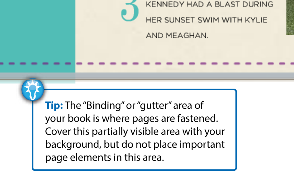
The Binding Area, or Gutter, on the inside of your Storybook is the area where two facing pages meet in the center of the book. This is what the Gutter looks like as part of the Design Guide in Studio:

It is important to know how far you may design into the Binding Area. For more information, click here or go to https://heritagemakers.zendesk.com/entries/45605910-Designing-Around-Your-Storybook-s-Binding-Area.
The Copyright Page:
The very last page of your Storybook is the Copyright page. In the page listing, it is often labeled as "C." The Copyright page can be designed, just like any other page in your Storybook, except for a small white strip at the bottom of the page. This is the copyright area, where the Heritage Makers logo will be printed, along with a small production barcode, the book's project ID, and the Heritage Makers website (or the personal website of your personal publishing consultant or distributor). The copyright page and Heritage Makers logo cannot be removed from your Storybook project.
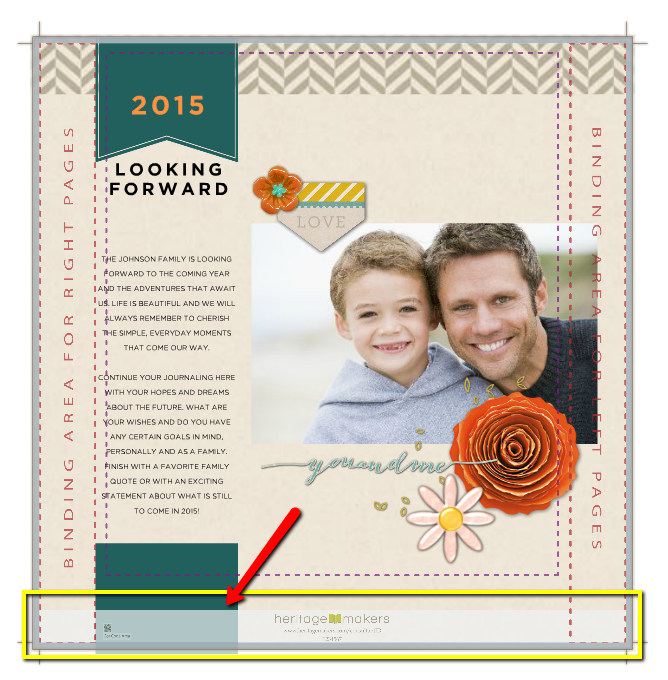
This is how the Copyright area appears while designing in Studio. this is to give you an idea of where the white stripe will appear in your finished book. *
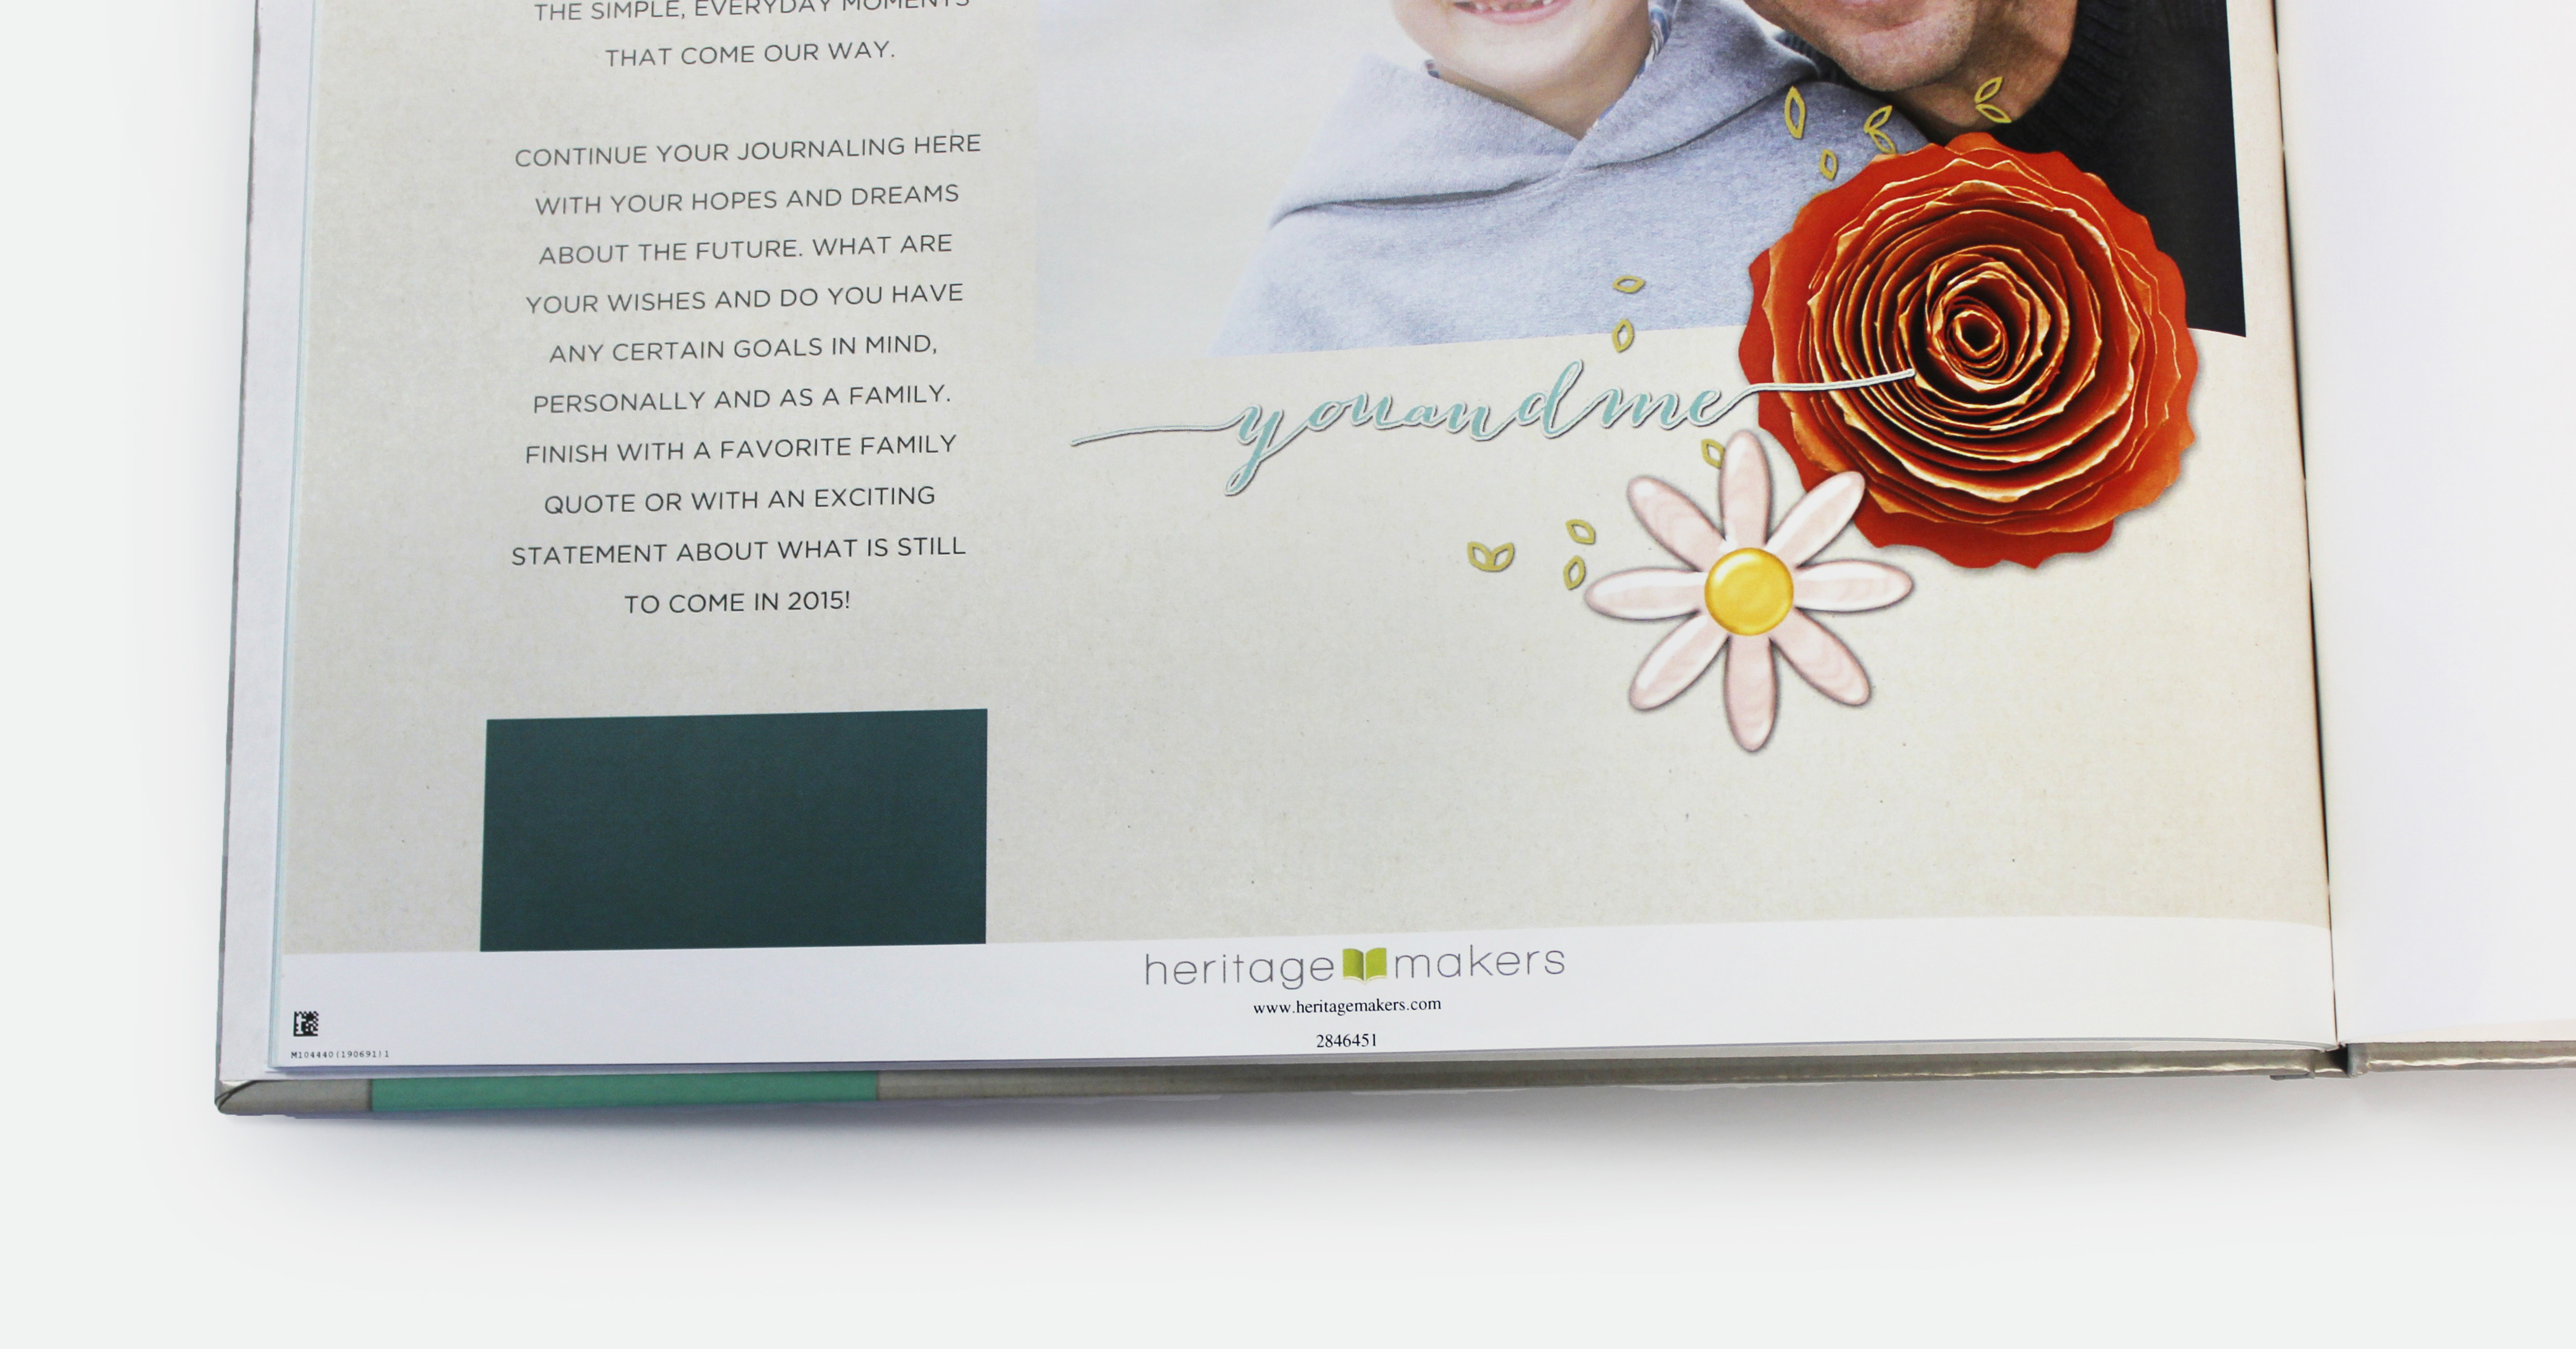
This is how the Copyright area will appear in your finished Storybook. The information that is displayed in this area is specific to each book. *
*Note: One photo in this article shows an 8 x 8 storybook, but will be replaced with a correct photo soon.
0 Comments