
There are two things that you need to take into consideration when creating a canvas with only one photo. The first is the shape of the photo you are using. The second is the size of the canvas. The below examples are demonstrated on a 16 X 20 canvas and show common design options and errors that can occur.
Using a rectangular photo and placing the image where you want it in design space.
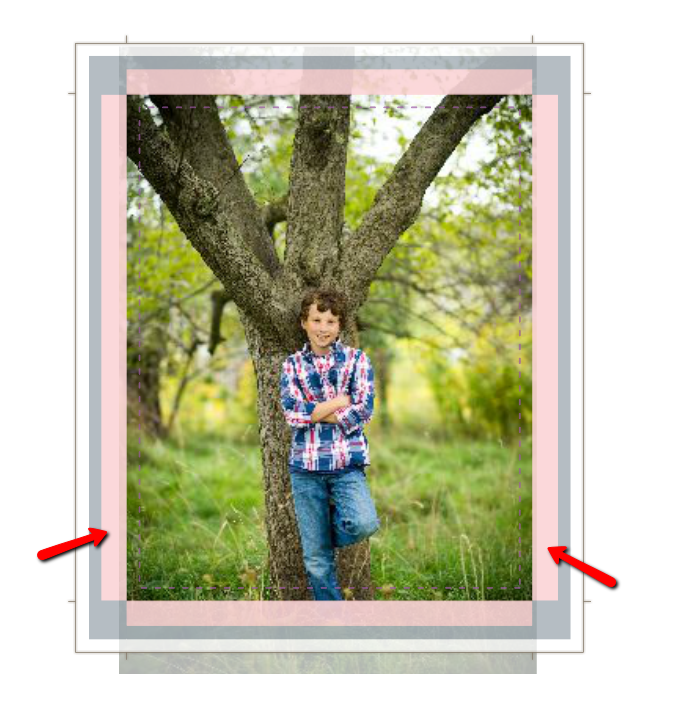
The issue with this photo is that the wrap area is empty on the sides. This canvas will print white on the left and right sides, while the front of the canvas and the top and bottom will have the photo printed on them.
Using a rectangular photo, stretching the photo to fully fill the wrap area.
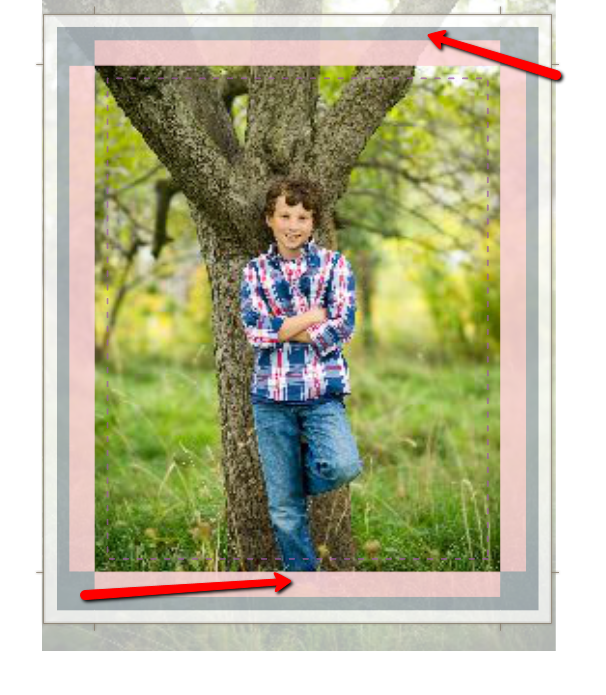
For this particular photo, stretching to the full wrap area will result in the feet being cut off, and a lot of the tree being removed. In other words, parts of this photo will be cut off on the final printed product.

Also note that this photo does not quite fit this canvas size. The orange border around the photo indicates that it will not print to it's full resolution.
Using a rectangular photo, keeping the image in the design space and filling the wrap area.

To keep all parts of the photo visible on the canvas while also filling the entire design space, try using a background paper on the sides of the canvas. Black is a great color option for this method. This will allow the image to be on the front of the canvas, while the sides of the canvas are designed with the color of your choice. You can then crop the extras out to make sure they do not print on any of the sides.
Changing the photo to one that will work with the desired size of canvas.
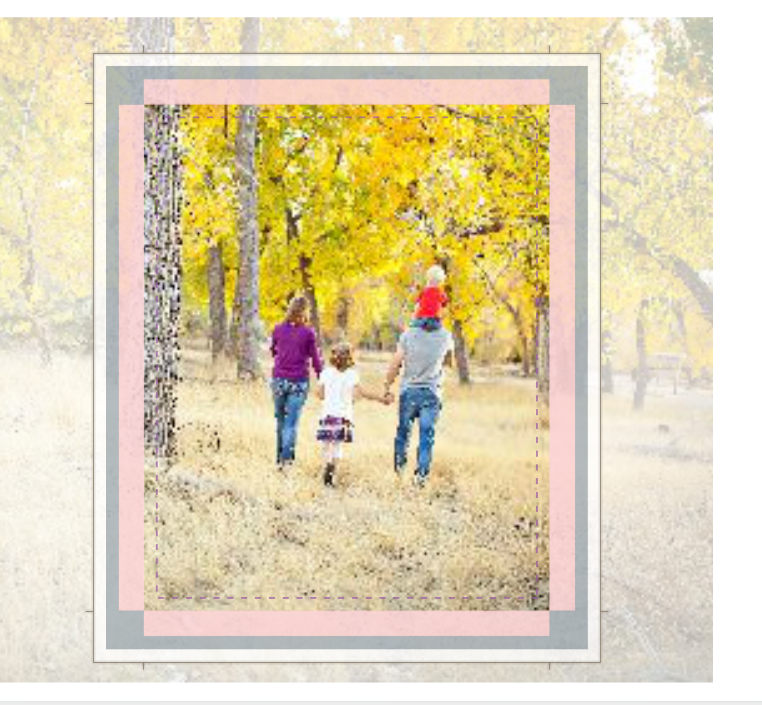
In this example, the focal point is still within the front design space, while still able to carry over into sides of the canvas.
*Please note that our website is low-resolution. If using a template to design your canvas, make sure to double check the quality of your photo by unlocking your photo to check the border color. To learn more about border colors in Studio, click here.
0 Comments