
Here is a short and simple explanation of how to add a text box to your project, as well as how to adjust the font and the size of your text.

1.) Click on the "Text Boxes" tab. Choose one of the three text box styles.
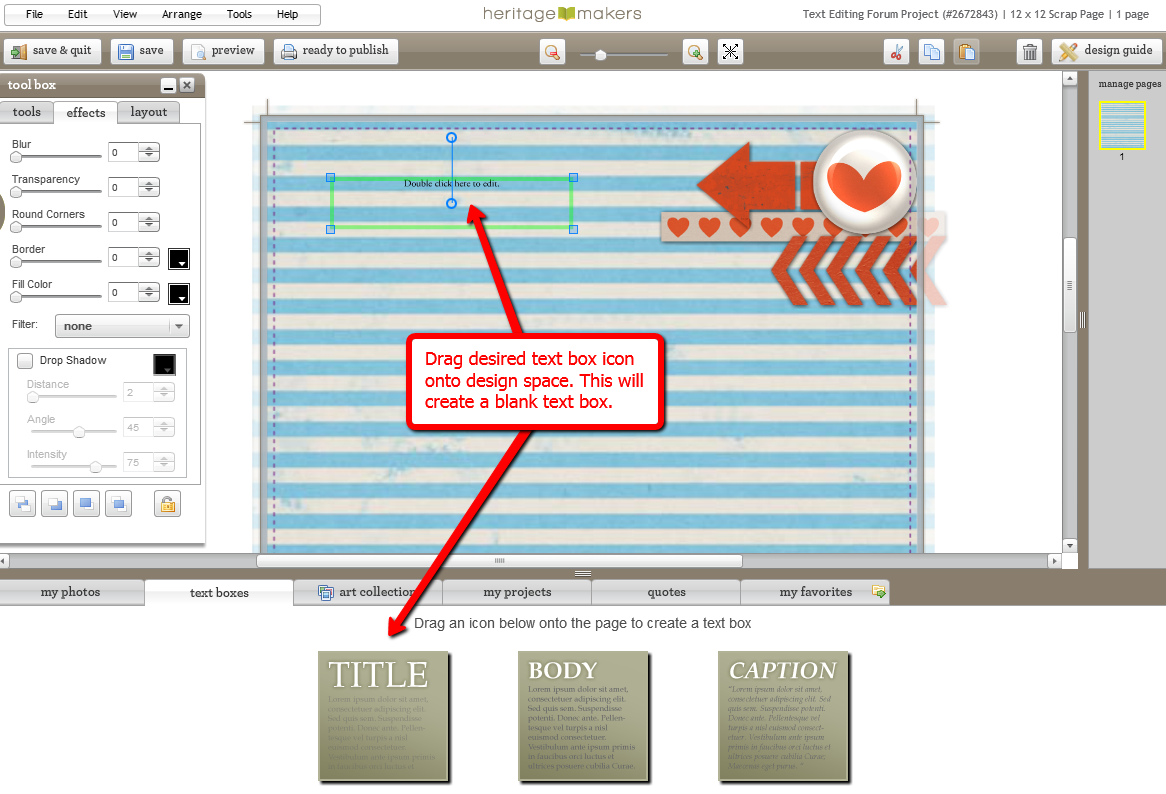
2.) Drag desired text box icon onto design space. This will create a blank text box.

3.) Double click on the text to make the cursor appear. Remove the words "Double click here to edit" and add your text.
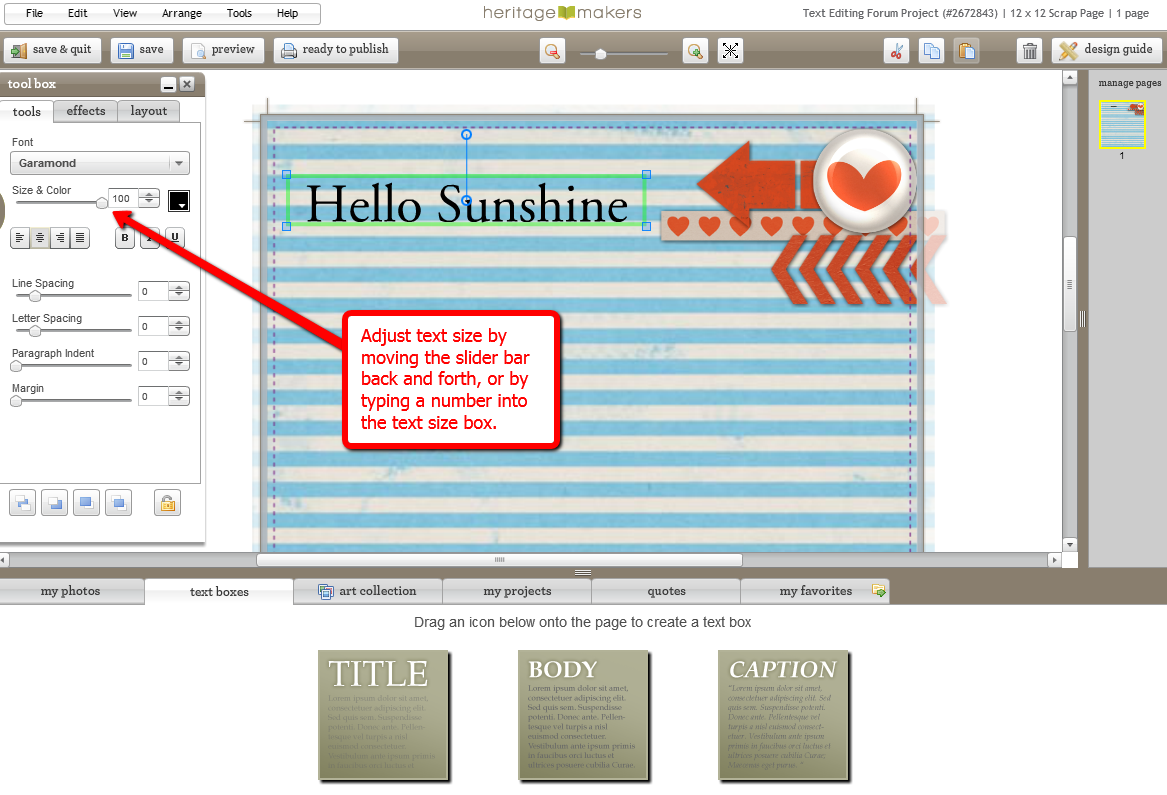
4.) Adjust text size by moving the slider bar back and forth, or by typing a number into the text box.
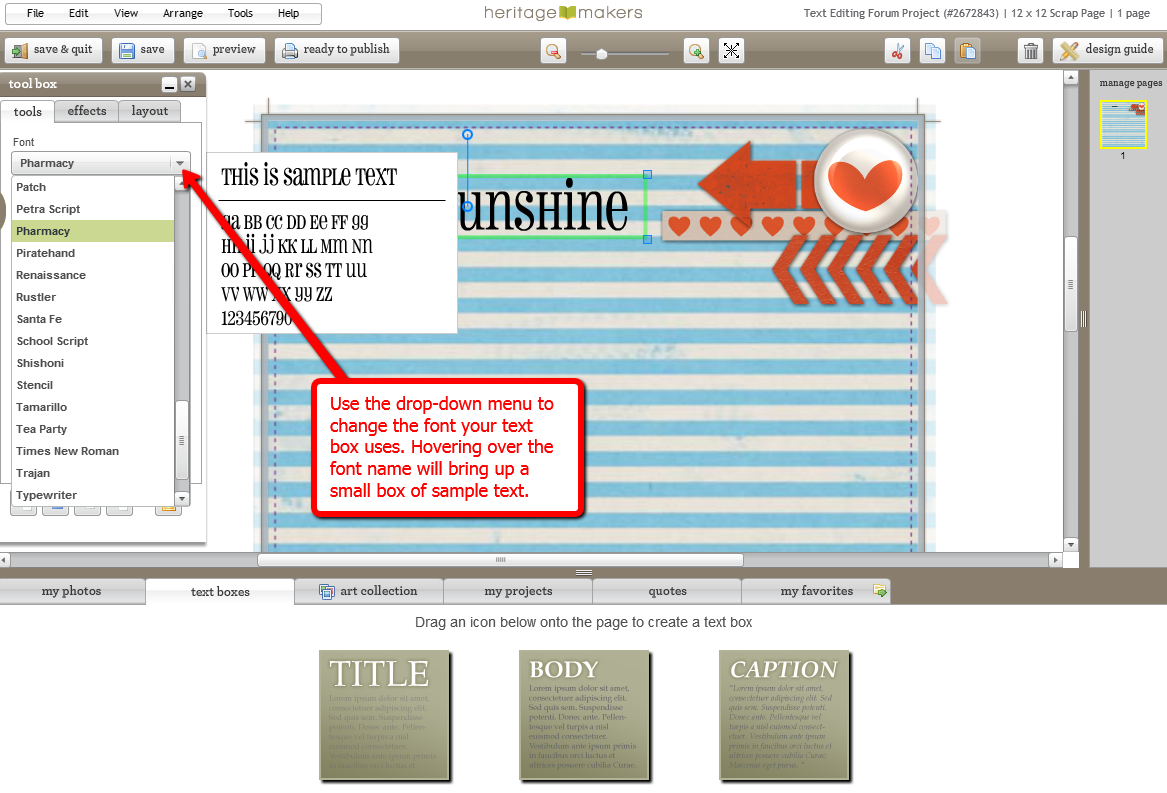
5.) Use the drop-down menu to change the font your text box uses. Hovering over the font name will bring up a small box of sample text.

6.) To further adjust font size, hold down the "Control" key on your keyboard and drag the corners of your text box. This will unlock the proportions of your element so you can stretch it to any desired size or shape. If you hold down "Control" and "Shift" at the same time, it will allow you to stretch the text, while keeping the proportions locked.
*_ Watch this video from our Sept. 11, 2014 Studio U class to learn how to stretch your text boxes beyond 150 pt. and stretch to fill a space.*_
0 Comments