
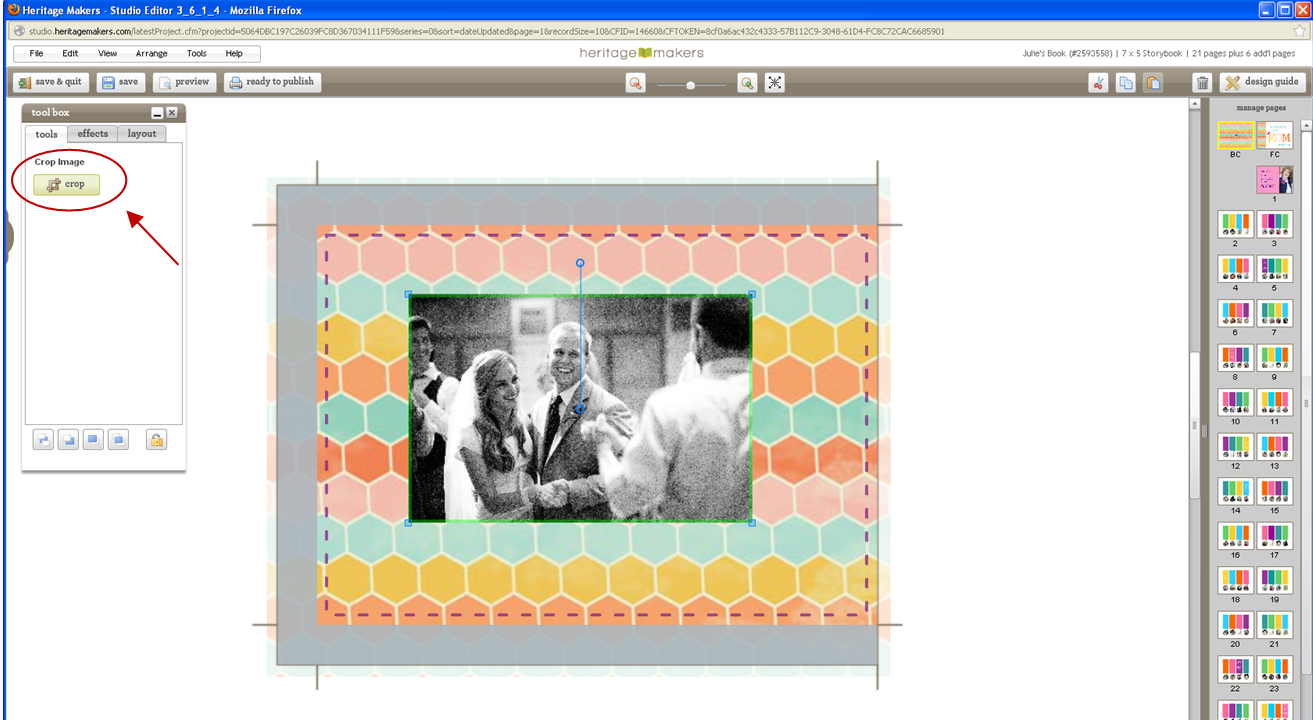
Cropping a picture into a circle, or any object for that matter, is quite simple! First you will need to click on the image or object you would like to crop within the studio editor so it is selected. Then you will find your toolbox (on the left hand side of the page) and select the option crop.
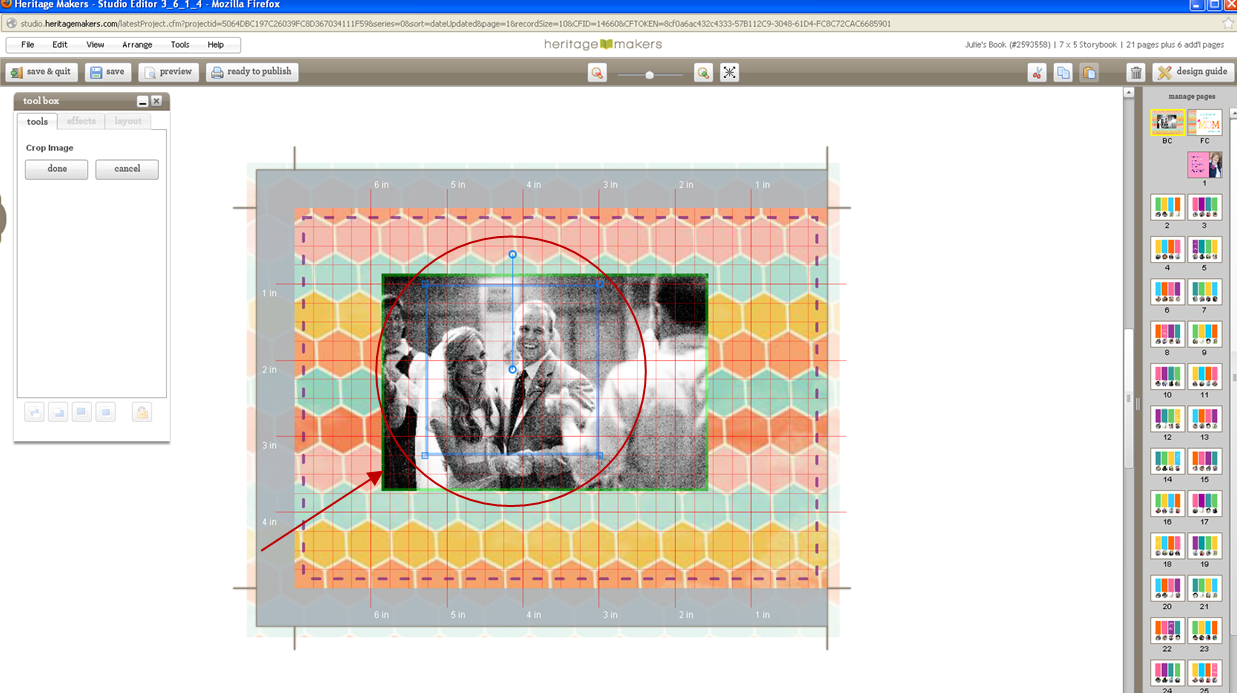
Once you have clicked on the crop button, a blue box will appear around your photo. You will want to form this blue box into a perfect square around your image. You can use the ruler tool found at the top left under the view option.
Once you have formed a perfect square with the blue line around your image/object, you will then click the button ‘done’ found at the top left in your toolbox. Next you will click on the middle tab labeled ‘effects’ also found in the tool box. You will want to go to ‘Round Corners’ (the third bar down), and slide the bar all the way to the right.
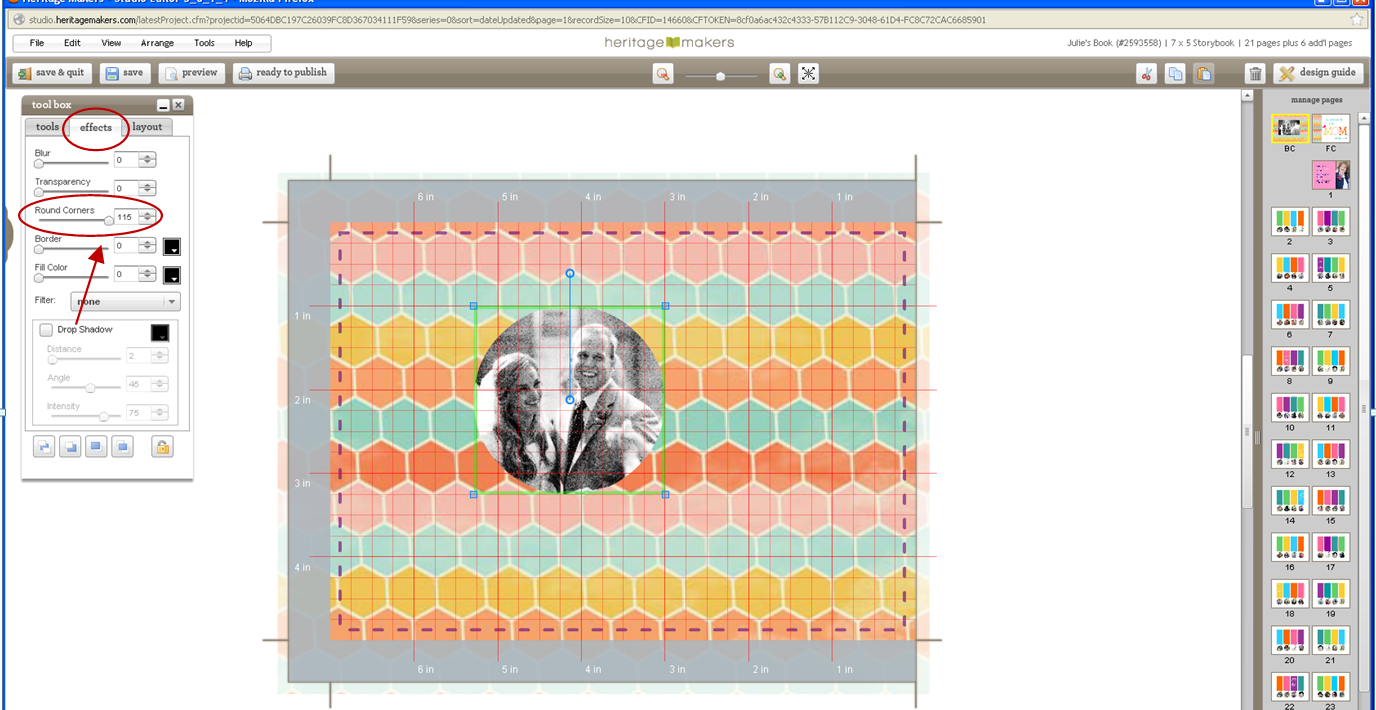
Now you have a perfect circle! :)
0 Comments